
Fall Plumbing Prep: The Annual Checklist for North Shore Homeowners
October on the North Shore is the right time to prepare your plumbing for what’s coming. Not November, when the first cold snap has already arrived. October, when you have time to address anything that turns up without the pressure of an imminent freeze.
Work through this list once a year. Most of it takes 30 minutes. Some items reveal problems worth fixing before they become emergencies.
Outdoor Hose Bibs
Find the interior shutoff valve for each outdoor hose bib. Turn it off. Open the exterior bib to drain the section of pipe between the shutoff and the exterior. Leave the exterior bib open (in the open position with no water pressure behind it, it’s fine). If your home has frost-free bibs, disconnect all hoses before the first freeze — an attached hose holds water in the exposed pipe and defeats the frost-free design.
Irrigation System
If you have an in-ground irrigation system, winterize it before ground temperature drops. This typically involves blowing the system out with compressed air to remove all water from the lines before it can freeze. This is a job for an irrigation company or a plumber with the right equipment — it requires a large compressor (50+ CFM) to clear water from the lines properly. Attempting it with an underpowered shop compressor is inadequate and will result in frozen lines in January.
Water Heater
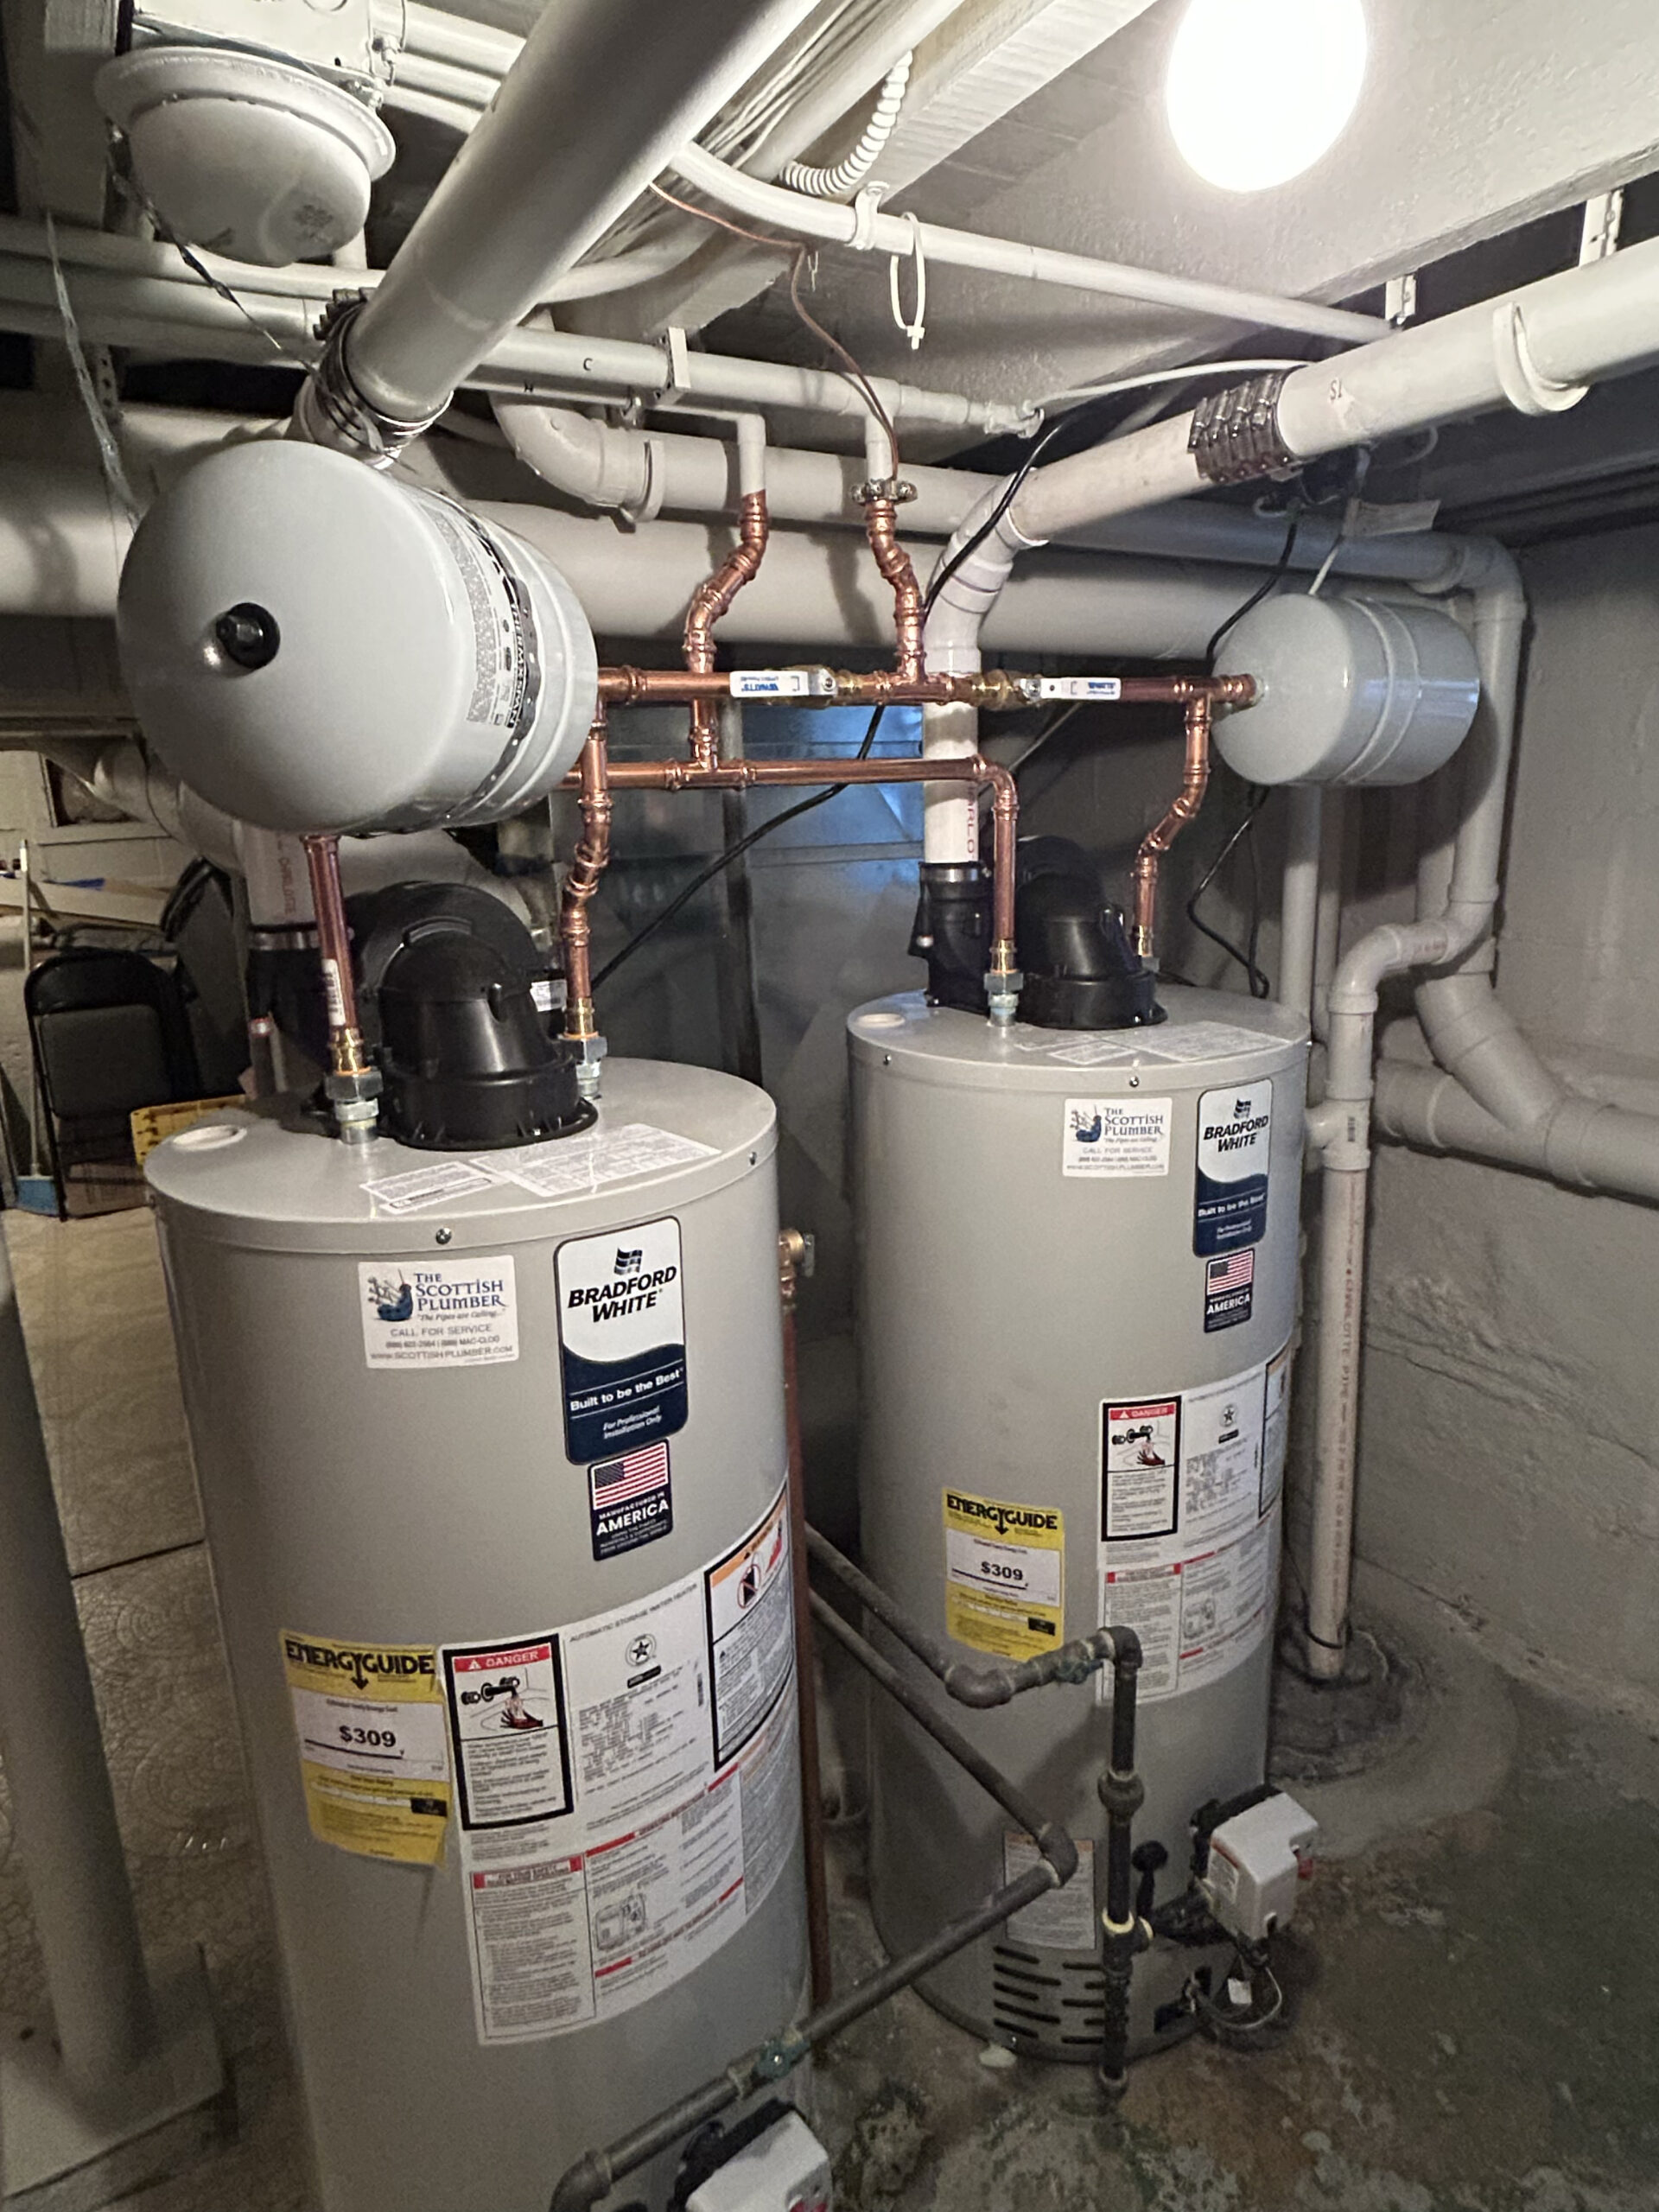
Fall is a reasonable time to flush the water heater to clear sediment accumulation. Attach a garden hose to the drain valve at the base of the unit, run it to a floor drain, open the valve, and let the sediment-laden water flush out until it runs clear. This takes 10–20 minutes. While you’re at it, test the pressure relief valve — lift the lever briefly and confirm it releases water and reseals properly. A T&P valve that won’t fully reseal needs replacement.
Sump Pump
Pour a bucket of water into the sump pit and confirm the pump activates, discharges, and shuts off normally. Check that the discharge line is clear and the exterior termination isn’t obstructed. Test the battery backup if you have one. If the pump is more than seven years old and is running noticeably more often or more slowly than it used to, budget for replacement before spring.
Exposed Pipes in Unheated Spaces
Walk through the garage, crawl space, and any unheated areas and look for supply pipes without insulation. Add foam pipe insulation to any exposed supply line in an unheated space — it’s inexpensive and a genuinely effective freeze delay. If you have a pipe in an exterior wall that has frozen before, this is the time to add heat tape.
Water Heater Insulation (If Relevant)
If your water heater is in an unheated space — an attached but unheated garage, for instance — confirm that the supply and distribution lines leaving the unit are insulated. The unit itself generates heat, but the pipes feeding it can freeze if they’re exposed to sustained cold without protection.
Know Your Shutoffs
Confirm that every member of your household knows where the main water shutoff is and how to operate it. This is not a fall-specific task, but fall is a convenient time to do a refresher, given what winter brings. Tag the valve if it isn’t already labeled.
If you work through this list and find something that needs professional attention — a shutoff valve that won’t close, a sump pump that’s behaving strangely, a hose bib that drips after being shut off — address it in October. Call us and we’ll get it sorted before the cold arrives.